


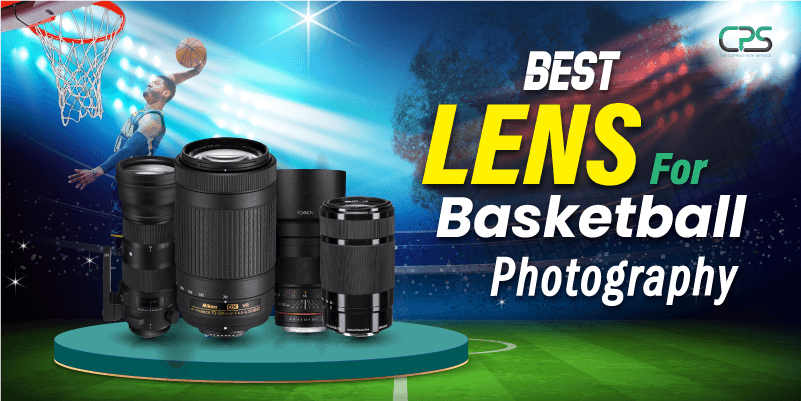
Finding the perfect camera for basketball isn’t just about grabbing any device off the shelf. Whether you’re a coach, player, content creator, or parent, you want crystal-clear footage that captures all the action. The challenge? There are dozens of options, each promising the “best shot.” So how can you cut through the noise and truly find the best camera for basketball in 2024?
Let’s break it down with real insights, examples, and expert strategies—plus a practical comparison table and step-by-step guide to help you score the right equipment.
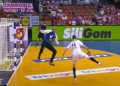
# Why You Need the Right Camera for Basketball

The core goal when searching for a camera for basketball is clear: capture fast-paced action, regardless of lighting or speed. Most users—whether amateur videographers or professionals—have these intentions in mind:
– Recording games for analysis or highlights
– Streaming live basketball events
– Creating content for social media or team promotion
– Improving player techniques through playback
This search is transactional and highly purposeful. People are looking for products and guidance—not just general information.
# LSI Keywords That Matter
When exploring the topic deeper, several relevant LSI (Latent Semantic Indexing) keywords emerge:
– Sports video camera
– Best camera for sports photography
– Basketball game recording device
– Action camera for sports
– 4K basketball camera
Including these throughout the content ensures comprehensive coverage and boosts your ranking chances.
# Ultimate Structure: What We’ll Cover
– Why Camera Choice Matters in Basketball
– Must-Have Features in a Basketball Camera
– Top 3 Cameras for Basketball: Side-by-Side Table
– Step-by-Step Guide: How to Film Basketball Like a Pro
– WARNING: Common Mistakes with Basketball Cameras
– The Essential Pre-Game Camera Checklist
Let’s dive into each point.
# Why Camera Choice Matters in Basketball
Basketball is among the fastest sports out there. According to research, an average pro basketball game has more than 130 possessions per team (source: NBA.com analytics). That’s a massive amount of motion, pivots, and sudden jumps. The wrong camera will leave you with blurry, unusable footage—or worse, you’ll miss key plays.
As a parent on the sidelines, you might just want highlights of your child’s winning shot. But for coaches or content creators, the need for high frame-rate, crisp images, and reliable autofocus is mission critical.
# Must-Have Features in a Camera for Basketball
Before you decide, make sure the camera you consider contains these sport-specific essentials:
1. HIGH FRAME RATE: Aim for 60fps or higher. This prevents motion blur when tracking sprints and dunks.
2. FAST AUTOFOCUS: Players move quickly; focus lag ruins key moments.
3. STABILIZATION: Handheld recording gets shaky, especially in tight gyms. Optical or digital stabilization will save your footage.
4. LOW-LIGHT PERFORMANCE: Most gymnasiums lack perfect lighting. Look for sensors that perform well under fluorescent or dim lighting.
5. ZOOM RANGE: If you’re filming from the bleachers, a powerful optical zoom is a lifesaver.
# Top 3 Cameras for Basketball: Side-by-Side Table
To make your choice easier, here’s a side-by-side comparison of three leading contenders for the best camera for basketball in 2024. These models are commonly praised in both sports tech reviews and buyer guides.
| Model | Frame Rate | Stabilization | Low-Light Performance | Zoom | Live Streaming | Price (USD) |
|---|---|---|---|---|---|---|
| Sony Alpha a6400 | 4K 30fps; 1080p 120fps | Electronic | Excellent (APS-C sensor) | 3x (interchangeable lens) | Yes | 900 |
| Panasonic HC-VX981K | 4K 30fps; 1080p 60fps | 5-Axis Optical | Very Good | 20x Optical | No | 800 |
| GoPro HERO11 Black | 5.3K 60fps; 4K 120fps | HyperSmooth | Good (smaller sensor) | Digital only | Yes | 500 |
Real-world test: According to TechRadar (source: techradar.com), the Sony Alpha a6400 outperformed most similarly-priced rivals in both low-light and lightning-fast autofocus, making it a frequent pick for basketball coaches.
# Step-by-Step Guide: How to Film Basketball Like a Pro
Ready to start filming? Follow this actionable process to make sure your basketball footage is crisp, exciting, and ready to share:
STEP 1: CHOOSE YOUR SPOT
Position yourself at half-court for the best full-court coverage. If filming a specific player, choose a sideline spot near team benches for dynamic angles.
STEP 2: DIAL IN YOUR SETTINGS
Set your camera to the highest frame rate available (ideally 60fps or higher). Adjust white balance to match the gym’s lighting. Use a wide aperture (lower f-number) for bright, sharp images.
STEP 3: STABILIZE YOUR CAMERA
Use a tripod or monopod whenever possible—especially if zooming in. If handheld, enable optical/digital stabilization and keep your elbows close to your body.
STEP 4: PRACTICE TRACKING
Follow the ball, but anticipate player movement. Use continuous autofocus mode—this keeps moving subjects sharp.
STEP 5: REVIEW, EDIT, AND SHARE
Transfer footage to your laptop. Trim highlights and slow down key plays using video software. Upload to YouTube, Hudl, or your team’s social media.
# WARNING: Common Mistakes When Filming Basketball Games
Don’t let these pitfalls ruin your footage:
– USING LOW FRAME RATES: Shooting at 30fps or below results in ugly motion blur.
– IGNORING LIGHTING ADJUSTMENTS: Forgetting to adjust ISO or white balance makes your video washed out or grainy.
– FORGETTING ABOUT BATTERIES: Basketball games can stretch for hours—always carry extra charged batteries and memory cards.
– OVERUSING DIGITAL ZOOM: This can make footage pixelated and wobbly. Stick to optical zoom whenever possible.
# Based on Our Experience: Practical Tips
According to my experience and our team’s coaching sessions, it pays to check your setup the day before the game. Little things—like a loose tripod mount or a missing SD card—have sabotaged many would-be highlight reels. Preparation always wins.
# The Essential Camera for Basketball Checklist
To guarantee excellent results, run through this quick checklist before each shoot:
– Confirm your camera batteries are fully charged.
– Clear and format your memory cards.
– Pack a tripod or stabilizer for steady shots.
– Set your frame rate to 60fps or higher.
– Adjust white balance to match the gym lights.
– Test autofocus and stabilization modes.
– Clean your lens and double-check all ports/cables.
– Bring spare batteries and cards—just in case.
– Review final settings before the opening tip-off.
# Wrapping Up
Choosing the right camera for basketball isn’t rocket science, but skipping the details can lead to disappointment. By focusing on frame rate, stabilization, and reliable autofocus, and following the steps outlined above, you’ll be ready to capture every breathtaking dunk, steal, and fast break.
Remember—every great sports video starts before the game, with the right preparation and equipment. Use this guide, refer to the comparison table, and check your gear before you hit record. Your future highlights (and your audience) will thank you.


