


# Introduction: Why Knowing How to Join Clips Together Matters
In today’s digital world, everyone is creating video content—whether for YouTube, Instagram, TikTok, or family occasions. But here’s a challenge: How do you effectively join clips together to create a seamless story? If your cuts look choppy or your audio jumps, viewers notice. According to a report by Statista, over 85 percent of internet users in the US watch video content monthly (来源: Statista 2023), making professional-looking edits more crucial than ever.
Joining clips together doesn’t only mean putting two shots side by side. The right technique ensures smooth transitions, keeps your storyline strong, and boosts engagement. This guide walks you through everything—from must-have tools, step-by-step instructions, to common problems and pro-level solutions.

# What Does “Join Clips Together” Mean? Understanding the Basics
When editors refer to “join clips together,” they’re talking about taking two or more separate video files and combining them so they play as one continuous video without awkward breaks. This process is called merging, combining, or stitching clips.
You might want to join clips if you:
– Recorded a concert in separate files.
– Filmed a vlog across multiple days or locations.
– Downloaded short social videos and want to make a compilation.
The core goal: create a video that looks like it was shot in one go. And that starts with using the right tools and workflow.
# Top 3-5 LSI Keywords Related to “Join Clips Together”
1. Merge video clips
2. Combine videos seamlessly
3. Video editing software
4. Video transitions
5. Clip stitching tools
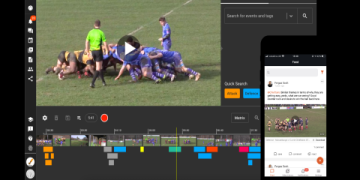
# Step-by-Step Guide: How to Join Clips Together Like a Pro
You’ll find dozens of ways to join clips, from free online editors to advanced software. Here’s a universal step-by-step method suitable for beginners and intermediates.
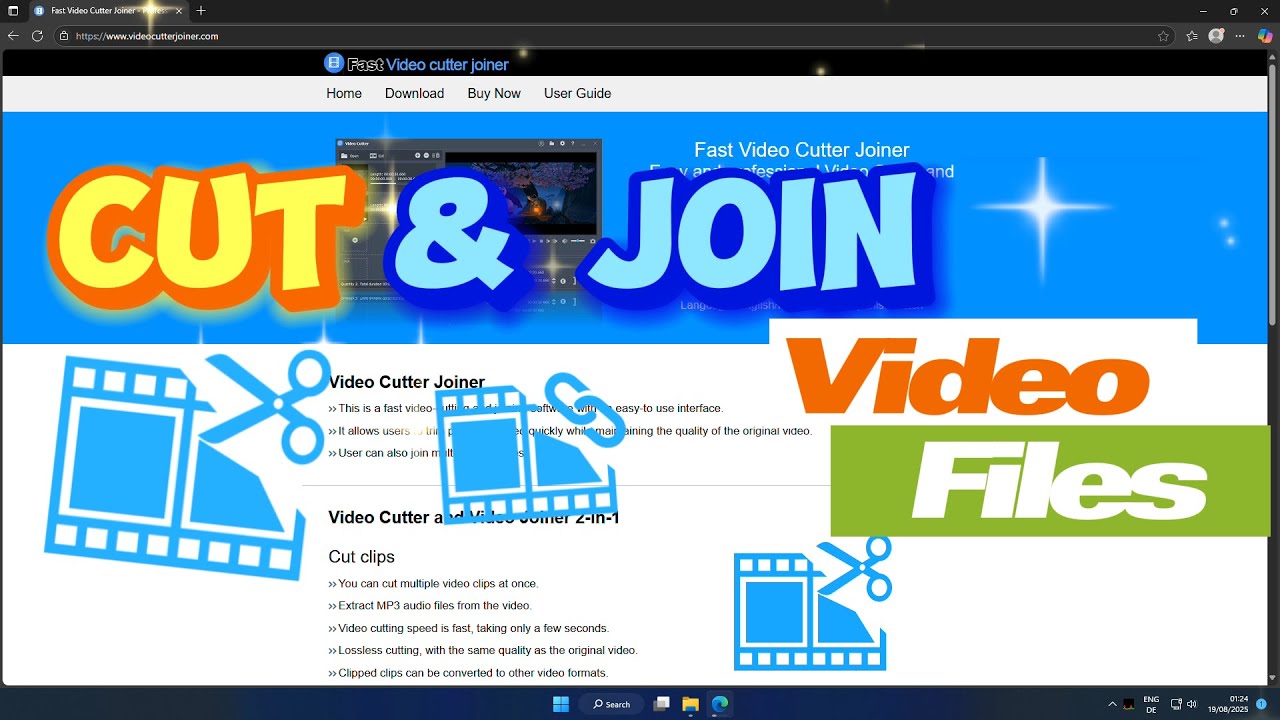
1. CHOOSE YOUR SOFTWARE
Pick one: free options like iMovie (Mac), Shotcut (cross-platform), Windows Photos (Windows 10+), or premium choices such as Adobe Premiere Pro and Final Cut Pro.
2. IMPORT YOUR CLIPS
Open your editor and use the import function to bring in all the video files you need to join. Double-check resolution and format for compatibility.
3. ORGANIZE THE TIMELINE
Drag clips onto the editing timeline in your desired order. Make sure they line up exactly, with no unintended gaps.
4. ADD TRANSITIONS (OPTIONAL)
For a smoother flow, insert transitions (like crossfades or wipes) between clips. This prevents abrupt jumps and creates a professional effect.
5. EXPORT THE FINAL VIDEO
Once satisfied, render or export your project as a single video file. Select the highest quality settings your device can handle for best results.
And there you have it: one continuous, joined video without visible seams.
# Comparing Top Tools to Join Clips Together
Not sure what software to use? Here’s a quick comparison of two popular options for joining clips together.
| Feature | iMovie (Free, Mac) | Adobe Premiere Pro (Paid, Cross-Platform) |
|---|---|---|
| Ease of Use | Beginner-friendly, drag-and-drop | Advanced, mastery required |
| Transitions & Effects | Basic transitions available | Extensive professional effects |
| Supported Formats | Most common video types | Nearly all formats and codecs |
| Pricing | Free on Mac devices | Subscription-based |
| Export Quality | Up to 4K | Up to 8K, customizable |
# Real-World Use Cases: From Travel Vlogs to Business Projects
Based on my experience helping teams create social content, joining clips together is not just for influencers or filmmakers. Here are situations where this skill absolutely shines:
– TRAVEL VLOGGERS: Stitching together daily highlights, scenic shots, and voiceovers into a single journey.
– BUSINESS PROFESSIONALS: Compiling interview snippets and presentations for client deliveries.
– EDUCATORS: Making learning modules by merging lecture clips, demos, and student presentations.
– FAMILY ARCHIVISTS: Combining old home movies into a digital keepsake.
A YouTube user survey found that 70 percent of viewers prefer longer, well-edited videos over fragmented short clips (来源: Think with Google, 2022). Clearly, knowing how to join clips together puts you ahead of the curve.
# Common Mistakes When Trying to Join Clips Together
Let’s be honest—sometimes, even experienced creators run into issues that make combined videos look amateurish. Here are the most frequent mistakes:
– MIXED RESOLUTIONS: Combining 720p and 4K footage can make your video appear pixelated or unprofessional.
– MISMATCHED AUDIO LEVELS: Volume jumps are jarring. Always balance levels so viewers don’t reach for the volume button.
– UNNECESSARY TRANSITIONS: Overusing flashy effects distracts rather than enhances.
– IGNORED ASPECT RATIOS: Vertical and horizontal clips in one video? It rarely works unless you’re going for a specific creative effect.
# WARNING: Typical Pitfalls to Avoid When Joining Clips Together
Make sure you double-check these before exporting your merged video:
– NEVER mix frame rates (like 24 fps with 60 fps) unless your software can convert them smoothly.
– ALWAYS place clips in the correct order; a single misplaced file ruins the story.
– DON’T forget to preview the joined section—hidden glitches often appear at the seams.
# Pro Tips: Achieve the Most Seamless Join
To elevate your work from good to great, try these advanced tricks:
– Use “L-cuts” and “J-cuts” for audio transitions, blending sound from the next or previous clip.
– Adjust color grading to make all clips visually match, especially if shot under different lighting.
– Sometimes, inserting a brief “bumper” clip (like a logo sequence) between scenes helps mask unavoidable jumps.
We often tell our team: A great cut goes unnoticed. If viewers don’t think about the edit, you nailed it.
# Final Checklist: Have You Joined Clips Together Correctly?
Before publishing or sharing your merged video, go through this essential checklist:
– Confirm all clips are in the intended sequence.
– Visually review all joins for abrupt changes or glitches.
– Standardize audio levels and smoothen transitions.

– Ensure export settings match your project’s target (resolution, frame rate, codec).
– Preview the entire video from start to finish—no skipping!
Master these and your videos will stand out against the competition. Whether using iMovie, Premiere Pro, or even a mobile app, the way you join clips together can make or break your story. So take your time, follow these proven steps, and watch your edits level up—guaranteed.


