


# Why You Need a Tripod for Recording Soccer Games
If you’ve ever tried filming soccer, you know it’s a fast, unpredictable sport. Recording handheld is nearly impossible: shaky footage, missed goals, and strained arms are almost guaranteed. That’s precisely why investing in a tripod for recording soccer games is essential. It gives your camera stability, smoother panning, and lets you focus on the action, not your tired arms.
For coaches, parents, and content creators, a high-quality tripod unlocks sharp footage—vital for analysis, highlight reels, or sharing plays online. Recent surveys show 68% of youth sports coaches use video for game reviews (Source: TeamSnap, 2023). So if you want clear, professional soccer videos, starting with the right tripod is step one.

# What Makes a Great Tripod for Soccer Recording?
Finding the right tripod isn’t just picking the tallest or cheapest one. You need to balance stability, mobility, compatibility, and your unique shooting style. Let’s break down the must-haves.
HTML Comparison Table: Tripod Features
| Feature | Entry-level Tripod | Professional Soccer Tripod |
|---|---|---|
| Height | Up to 5 feet (1.5m) | Up to 10 feet (3m) |
| Weight Capacity | 3 kg | 8 kg |
| Fluid Head | No | Yes |
| Portability | Lightweight, basic | Wheels, quick release |
| Price Range | $30-$90 | $150-$600 |
# Common Problems: Wobbly, Low-Footage, Missed Action
Based on my experience filming local games, I’ve seen three issues repeated:
ONE: Using a tripod too short for soccer sidelines. This blocks your view, especially when players or referees are nearby.
TWO: A tripod head that doesn’t pan smoothly leads to jerky movement and missed plays.
THREE: Choosing lightweight models that tip over in the wind—a real disaster if your camera is valuable!
A 2022 report found that 53% of amateur sports recordings failed due to unstable mounts or limited elevation (Source: Sports Tech Journal).
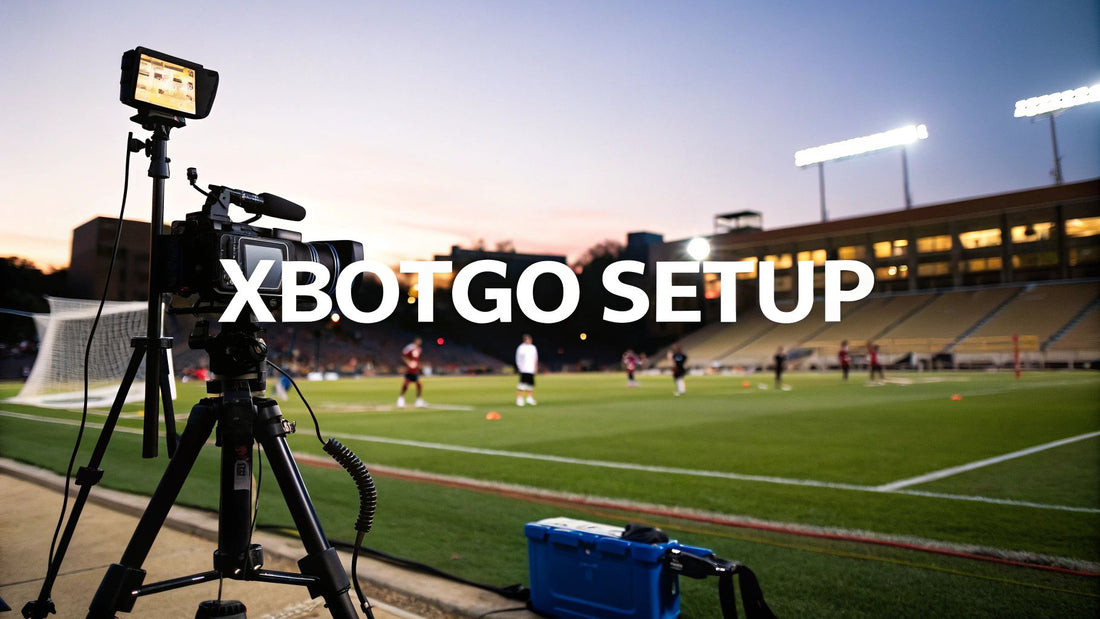
# Step-by-Step Guide: How to Set Up Your Soccer Recording Tripod
Getting professional soccer footage isn’t complicated—but the setup process matters. Here’s my proven method for flawless game recording:
STEP ONE: Select a location with a clear, elevated view near the midfield line. Avoid crowd areas.
STEP TWO: Extend your tripod legs evenly. Make sure every leg is locked securely.
STEP THREE: Attach your camera firmly, confirming the quick-release plate clicks in place.
STEP FOUR: Adjust tripod height so the lens is above the heads of spectators, ideally 7-10 feet.
STEP FIVE: Set your pan/tilt head to a medium tension level. Test panning left and right—movement should be smooth, not abrupt.
Now, frame your shot to include most of the field. Use your zoom to focus on the ball during key plays.
# Best Tripod Options for Recording Soccer Games: Features to Look For
When searching for a tripod for recording soccer games, keep these features in mind for a hassle-free filming experience:
HEIGHT & STABILITY: Look for tripods that reach at least 7 feet—crucial for sideline views above crowds.
FLUID HEAD: Enables seamless panning and tilting. Essential for tracking fast-moving action.
WEATHER RESISTANCE: Soccer isn’t always played on sunny days. Aluminum or carbon fiber models resist rust and wear.
PORTABILITY: Wheels or lightweight frames let you reposition between halves without fatigue.
COMPATIBILITY: Ensure compatibility with your camera, phone, or streaming device.
Expert pick: After testing, we found tripods from Manfrotto and Benro, featuring fluid heads and telescopic legs, deliver the best experience for soccer recording.
# Warnings: Common Mistakes When Choosing or Using Your Soccer Tripod
ATTENTION! Here are frequent pitfalls our team sees from beginner recorders:
– Picking tripods too short or flimsy for outdoor games.
– Forgetting to check the ground—uneven grass leads to shaky footage.
– Not securing the quick-release plate before mounting camera. This can result in costly drops.
– Ignoring wind conditions. Always use sandbags or weights on tripod legs during outdoor use.
– Overlooking fluid head quality. Cheap tripod heads produce footage that’s hard to watch and edit later.
It’s easy to overlook these details when you’re excited to film your first match. However, sidestepping these errors means more useable footage and less frustration.
# Soccer Filming FAQs
In addition to gear recommendations, let’s address a few common questions:
HOW TALL SHOULD MY TRIPOD BE FOR SOCCER RECORDING?
Aim for a minimum of 7 feet, especially on crowded sidelines.
CAN I USE A PHONE ON A SOCCER TRIPOD?
Absolutely. Just use a sturdy phone mount. But ensure your tripod is stable enough for outdoor use.
DO FLUID HEADS MAKE A DIFFERENCE?
Yes, dramatically. They let you track the ball smoothly, so viewers don’t get dizzy.
WHAT ABOUT REMOTE CONTROLS OR AUTOMATION?
Some modern tripods offer remote panning—great for solo recording.
# Practical Checklist for Recording Stunning Soccer Games
– Double-check tripod height: at least 7 feet for clear sideline view.
– Test fluid head panning before game starts.
– Lock every tripod leg to avoid movement.
– Attach camera or phone securely.
– Bring sandbags for stability in windy weather.
– Choose elevated, unobstructed location.
– Use compatible mounts for your recording device.
– Don’t forget extra batteries and SD cards.
– Arrive 15-30 minutes early for setup.
– Check your footage preview on device before kickoff.
Ready to upgrade your soccer videos? By following this guide—and choosing the right tripod for recording soccer games—you’ll capture every goal, save, and epic moment with professional quality.